Friday 2 January 2015

Beginning of a New Year.

First off, I wish to say Happy New Year to anyone who reads this. I hope that 2015 is your year. I intend on having a productive one myself. Enjoy this lovely picture of my local fireworks on New Years Eve...we happened to get a little wet, but it was worth staying. Quality isn't that great because they are taken with my phone.


I've been talking for a while now about how I wish to start a YouTube page for my little corner of the world...since my fanbase is quite small currently, I am hoping in the long run this will boost this. I also need to get more committed to my craft and all my online counterparts, like this blog. Has it really been 4 mths since my last post?? Anywho, I am happy to say I am in the progress of setting up my channel and have started compiling a list of things I wish to put up there. I am open to some input/requests. Some people have expressed an interest in me doing a vlog type thing on my Facebook page, which I may very well incorporate. I'm a little camera shy...sorry people.

The other thing is that I am very aware that I haven't even been updating my Facebook regualarly...see its a little hard to post things your working on when they are a surprise for certain people. I am super proud and happy with what I have made and I do hope that the people I made them for love them too. Photos will be up in the next few days with a bit of luck.

Well that is it from me, hope the start of your year has been great and will build to bigger and better things.


Saturday 13 September 2014

I know I've been quiet...

Hello anyone who is reading this!

I have to say, life has been busy and while I have been keeping up with my Facebook and got myself an Instagram account (@kittyskraftycorner), I have managed to neglect this blog. I don't think there is much interest in my blog or even my craft for that matter, but I do enjoy putting what I do out there for people to see in the hope someone will like it as much as me. I know I'm small time and I accept that. I don't have endless hours of time to invest in doing this stuff...some days I am lucky to sit down and get a few rows of crochet done. I still would love a like every once and a while though, doesn't everyone?
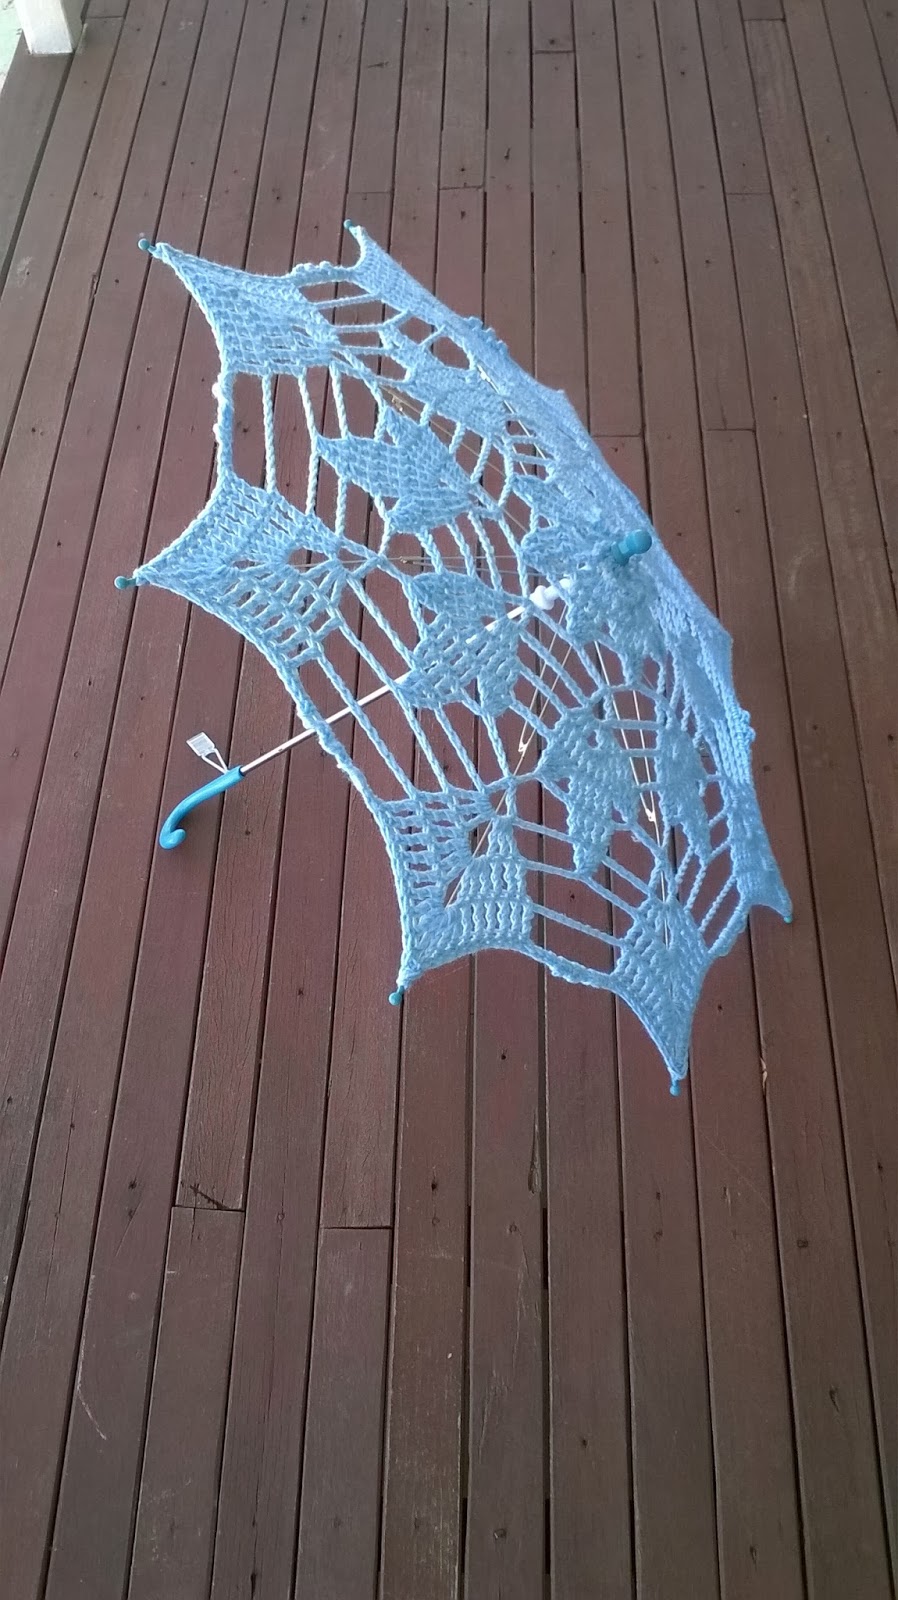
Star doilies


Things have been pretty slow in my little crafting corner. I have had days that linked up to weeks without any crochet at all. I have managed to hammer out some lovely things that I wanted to make, like these doilies to the left. I joined a few CAL's (Crochet A-Long) and even though I had great intentions, I am still trying to finish two of them...granted, they are both blankets. I have set myself a challenge to get one of my blankets finished in two weeks...it needs to be finished!! The finish line is in sight! I have at this moment 24 rows left to do and the border. I will try and remember to do a post on the blanket once it is complete. Since it was done wk by wk, I have progress photos. Its been a great experience to learn new stitches and do different patterns. I hold no regret participating in any of the CAL's I have done, I just wish I had more time to do more!!


This would have to be one of my favorite creations I have done since March. My son simply loves Teenage Mutant Ninja Turtles...can you guess who is his favorite? He was tucking his weapons in the back of his shirt but they kept falling out, much to his frustration. So I whipped up this belt, every decision approved by the man himself and this was the result. There is no pattern for this and the letter 'R' was completely free hand I doubt I could re-create it if I tried.


I do believe it needs a bit of tweaking. While he loves it, he has trouble getting his arms around to get the weapons that sit on his back. The trick at the moment is actually finding the belt to do fix it because goodness knows where it is right now.

Well, that's all from me. Please take the time to like or comment on my work kindly, it always makes my day.

Thanks for reading!

Saturday 15 March 2014

Side by side and other unrelated craft stuff.

So, I thought I would put a picture together of the two umbrella's side by side. Since its dark here atm, I just put the two pictures side by side. Both in my opinion are fantastic and unique.


The other thing I like to do is to take photo's. Camera's on phones are fantastic these days so I was able to do a panoramic picture and some awesome GIFS. I wanted to share because I am so happy with them and I can't really show the GIFS on Facebook. Its still craft right?


Sunday 9 March 2014

Another Shade Umbrella

What? Another one? Yep! But, different doily pattern (found here) and in wonderful, amazing RED! To say this one was a challenge is an understatement! I originally used a different pattern, but I couldn't get it to work, so I decided to use the same one Mikey used (from the Crochet Crowd). Many of my hours when I started this project I was quite tired which resulted in me mis-reading the pattern. A lot. Which, as you can imagine, resulted in lots and lots of frogging. A big thank you to the beautiful Jess who helped me with the pattern when my brain wouldn't work. After a month struggle with this pattern I am happy to say I am done!! The only thing I changed was the chain on the outside because I didn't like how it hung down. I used 8ply or DK yarn with a 5.5mm hook.

Oh, what am I forgetting? Pictures! Here you go!


Closed.

Open


Selfie!

Saturday 15 February 2014

Margaret's Double Cross Stitch Tutorial - Left handed version

Hi everyone, just a quick post today. I just finished this tutorial for my friend over at Miki's Crafty Corner for her stitch she came up with. Its only a left handed version, as I am left handed. Enjoy! The written pattern is in the information area of the video. Happy viewing everyone!


Thursday 13 February 2014

Shade Umbrella reveal!

I was thinking of putting this on my Facebook, but I thought it kinda defeats the purpose of having a blog!! So, here is my shade umbrella, inspired by The Crochet Crowd (blog post for it here.) and by using a 6.5mm hook (I think) with Red Heart Super Saver Light Blue and using this doily pattern. So, I had to learn how to actually READ the doily pattern first. That was fun due to the fact I had to read it right to left and then transfer it over so I could do it left to right. Since I have had plenty of practice doing this watching right handed videos, the transition wasn't too hard, once I learnt and remembered what all the little symbols meant. Anyway, enough rambling right? On with the pictures!!


EDIT: Just quickly, while I'm thinking of it...I did modify the doily pattern so it only had 8 instead of the 12 "groups" indicated on the pattern.

Thursday 6 February 2014

A helpful tutorial.

So I'm starting off 2014 with a little tutorial. I came across this handy idea while making patterns out of books and feeling frustrated that I could never keep my place. So here is a quick tutorial that I have been planning for about a month now.

Items you will need:


  • A small magnetic whiteboard (as close to A4 as you can).
  • Cloth tape
  • Rectangular magnets, relatively strong.
  • Other magnets (Optional)


First off, get yourself a small-ish magnetic white board.It needs to be magnetic. I got mine from OfficeWorks but I am sure you could find a cheap one anywhere.

Now, pull it apart...you want to separate the magnetic sheet from the border and cardboard.


This stuff on the left? Throw it in the bin...you won't be using it or needing it. You will only be needing the metal sheet on the right.


Now, grab your cloth tape and tape around all the edges. This will stop the magnetic board from cutting into your books. Don't make the border on the front too thick as you will take away space for your magnet to stick. Cut the tape close to the edges.


And your done!! Just slip your board behind the page of a book and use your flat magnet to not only hold it to the page but also keep your place. You can add more magnets for stability. You can use it behind printed patterns as well. If you get a strong enough magnet, you can even pin a few pages to it at once. As you can see, my board isn't as long as an A4 page and its a little wide, so I do have to move it up and down occasionally.

A special thank you to my friend Jess from America for the beautiful magnet featured in this picture. I simply love it.


There you have it! I hope you find it useful!